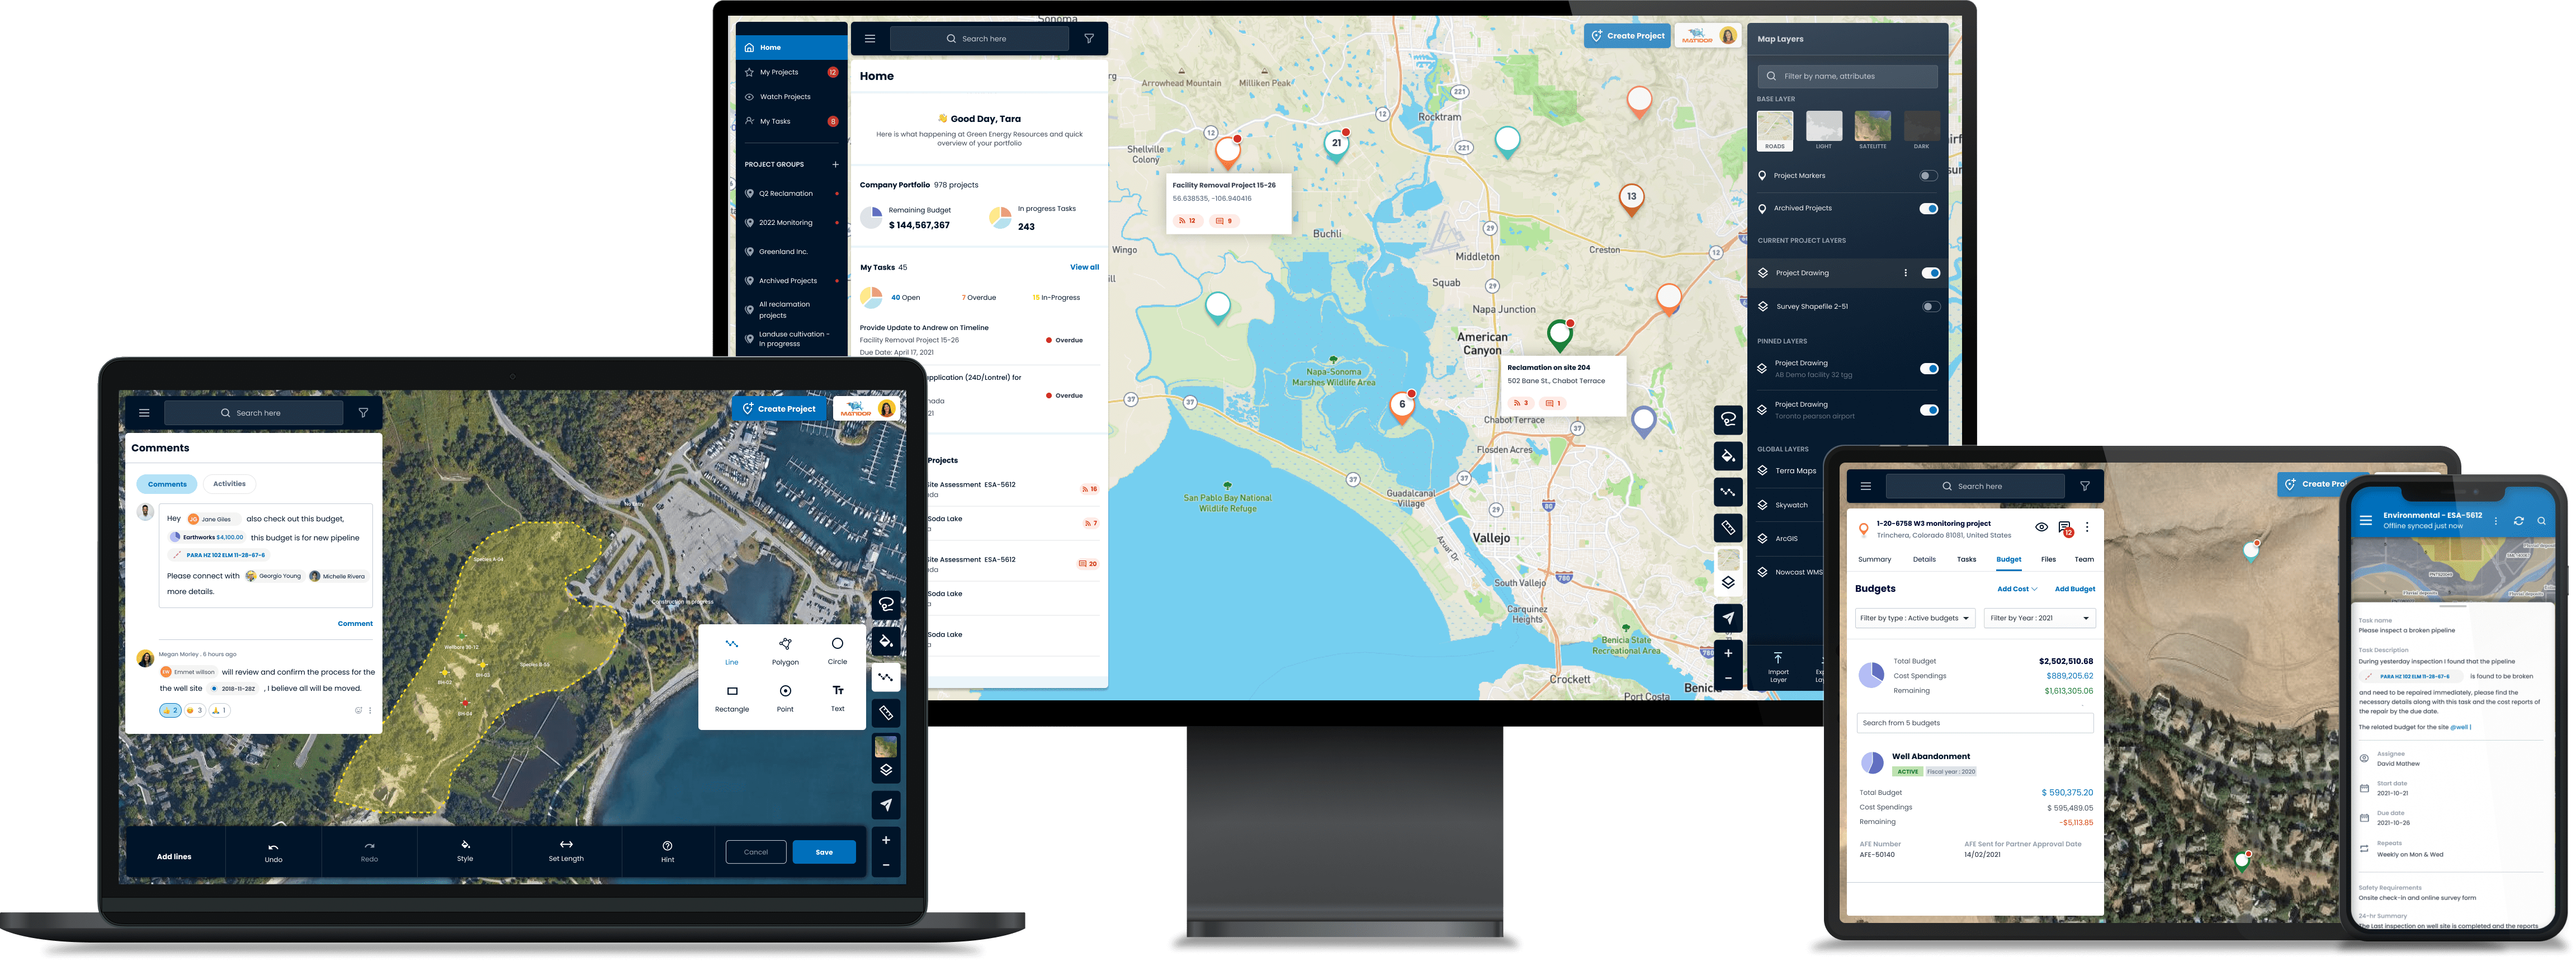
Welcome to Matidor

We designed Matidor with ultimate simplicity which means users do not need any training for using Matidor, but if you have recently joined us, this guide will quickly walk you through the basics and give you applicable tips in each section. You may notice slight changes in the action as Matidor is growing very fast and we release new version biweekly!
Accept an invitation and join Matidor
- You will receive an invitation email after a Matidor’s member invites you to join them.
- Generally, you can be invited to either “join a company” or “collaborate with a company”. Your invitation message will automatically indicate the type of invitation and no action is required from your end.
- Depending on the invitation type, you should either click on “accept and join the company” or “accept and collaborate with a company”.
- Then, you can create your account by:
- Entering your first name and last name
- Setting a password with at least 8 characters. Combine numbers, alphabets and special characters for your password.
Matidor Tip: Matidor keeps your credential for up to 30 days if you don’t clear the cookies. If you prefer to log in for each visit, make sure to log out from your account.
Learn about your home dashboard
Everything starts from the home dashboard. It is the first page you will see when you log in to the app. Matidor’s dashboard is smart and shows you the relevant information about what is going on around you.

You have access to the following from the left pane:
- Home
- Watched Projects
- Data Management
- Project Groups
- User Management
- Apps and Integrations
- Subscription & Usage
- Project Templates (only available for administrators)
The left pane reappears in the same place when you navigate inside a project.
Matidor Tip: Close or open the left pane by clicking on the 3 horizontal lines on the left hand of the search box when you want to see the map better.
Note:Depending on their roles, users may have access to slightly different features in the left pane; however, the overall structure of the app is always the same for all the users.
Matidor Tip: If you want to receive notifications about a particular project:
- Add it to your watched project.
- Make sure to update “Preferences” in the Personal Setting
What is a project
A project can be any group of activities in a certain location, such as a wellsite, facility, pipeline or building. A project can have forms, tasks, budgets, files and map drawings of that location.
The minimum requirements for defining a project on Matidor are project name and project location. The system then assigns a pin on the map once you define a project.
Create a new project
Generally, there are twoways to create a new project:
- Create a project directly by placing the marker on the map (available for Administrators and Project Managers)
- Import project(s) from spreadsheets (only available for Administrators)
Create a project directly on the map
Step 1: Click “Create Project” on the upper right-hand corner of the home page

Step 2: Select “place marker on the map”

Step 3: Click on the map where you want to place the project

Step 4: Enter “Project Name” and “Select Template” and click on “Create Project”

Import your project(s) from spreadsheets
Only available for the Administrators roles. Please contact us via [email protected] if you need any help importing your projects.
Navigating inside a project
When you are inside a project, Matidor’s interface is divided into 3 areas
- Left pane
- Project pane; you have access to the specific data related to that project such as tasks, forms, and files
- GIS tools, map layers, and drawing tools; use this section for drawing, customizing the map layer, etc.

Utilize Matidor search to find information
Use Matidor search to find the projects, locations, and even the budget. Matidor does not require the exact match to start searching, just give it some hints, and it will show you top matching records.
Matidor Tip: Use any information that you recall to find relevant data. For example, find a project by searching name, location, manager, etc. Similarly, find a budget by its name, status, year, etc.
Update data
You can update your project data when you are inside a project in the following sections:
- Summary
- Details
- Tasks
- Budget
- Forms
- Files
Matidor Tip: Use Data Management to edit your data across multiple projects
- Go to Data Management
- Hover your mouse cursor over the cell that you want to update and a pencil will appear
- Click on the pencil to enable editing the cell
- Update your data and save it
Note: This feature is under development and may not be available for all the columns in the current version.

Export data
You can export your project data entirely or partially:
- Select the project you want to export the data from
- Click on the 3 vertical dots on the right corner of the project pane
- Select “Export Project”
- Choose the feature(s) you want to export
- Click on the Export Project button
Matidor organizes the exported data into an excel file. If you chose more than one feature to export, Matidor organizes them in one single excel file and puts each feature in a separate sheet.
Matidor Tip: Use Data Management to export data from multiple projects
- Go to Data Management
- Select the projects you want to export data from them
- Click Export on the right-hand side
- Select columns you want to export

Matidor Tip: Customize the column that you want to see in the data management by using the setting icon in the right-hand corner of the page.
This Guide assumes that you a using desktop version of the app.